Quickstart
Our Make.com integration is the easiest to use. Simply follow this guide to get started.
Prerequisites
To get started, you must have:
- An OnlyFans API account with a creator account connected
- A Make.com account
Getting started
- Log in to your Make.com account.
- Install our Make.com integration via this link: https://www.make.com/en/hq/app-invitation/ee8eed5fafe0c65c4989c5b7112b741d
Connecting your OnlyFans API account to Make.com
Go to a Make scenario, or create a new scenario
Go to the Scenarios page in Make.com, click on the relevant scenario, or click on “Create a new scenario”.
Add the OnlyFans API app
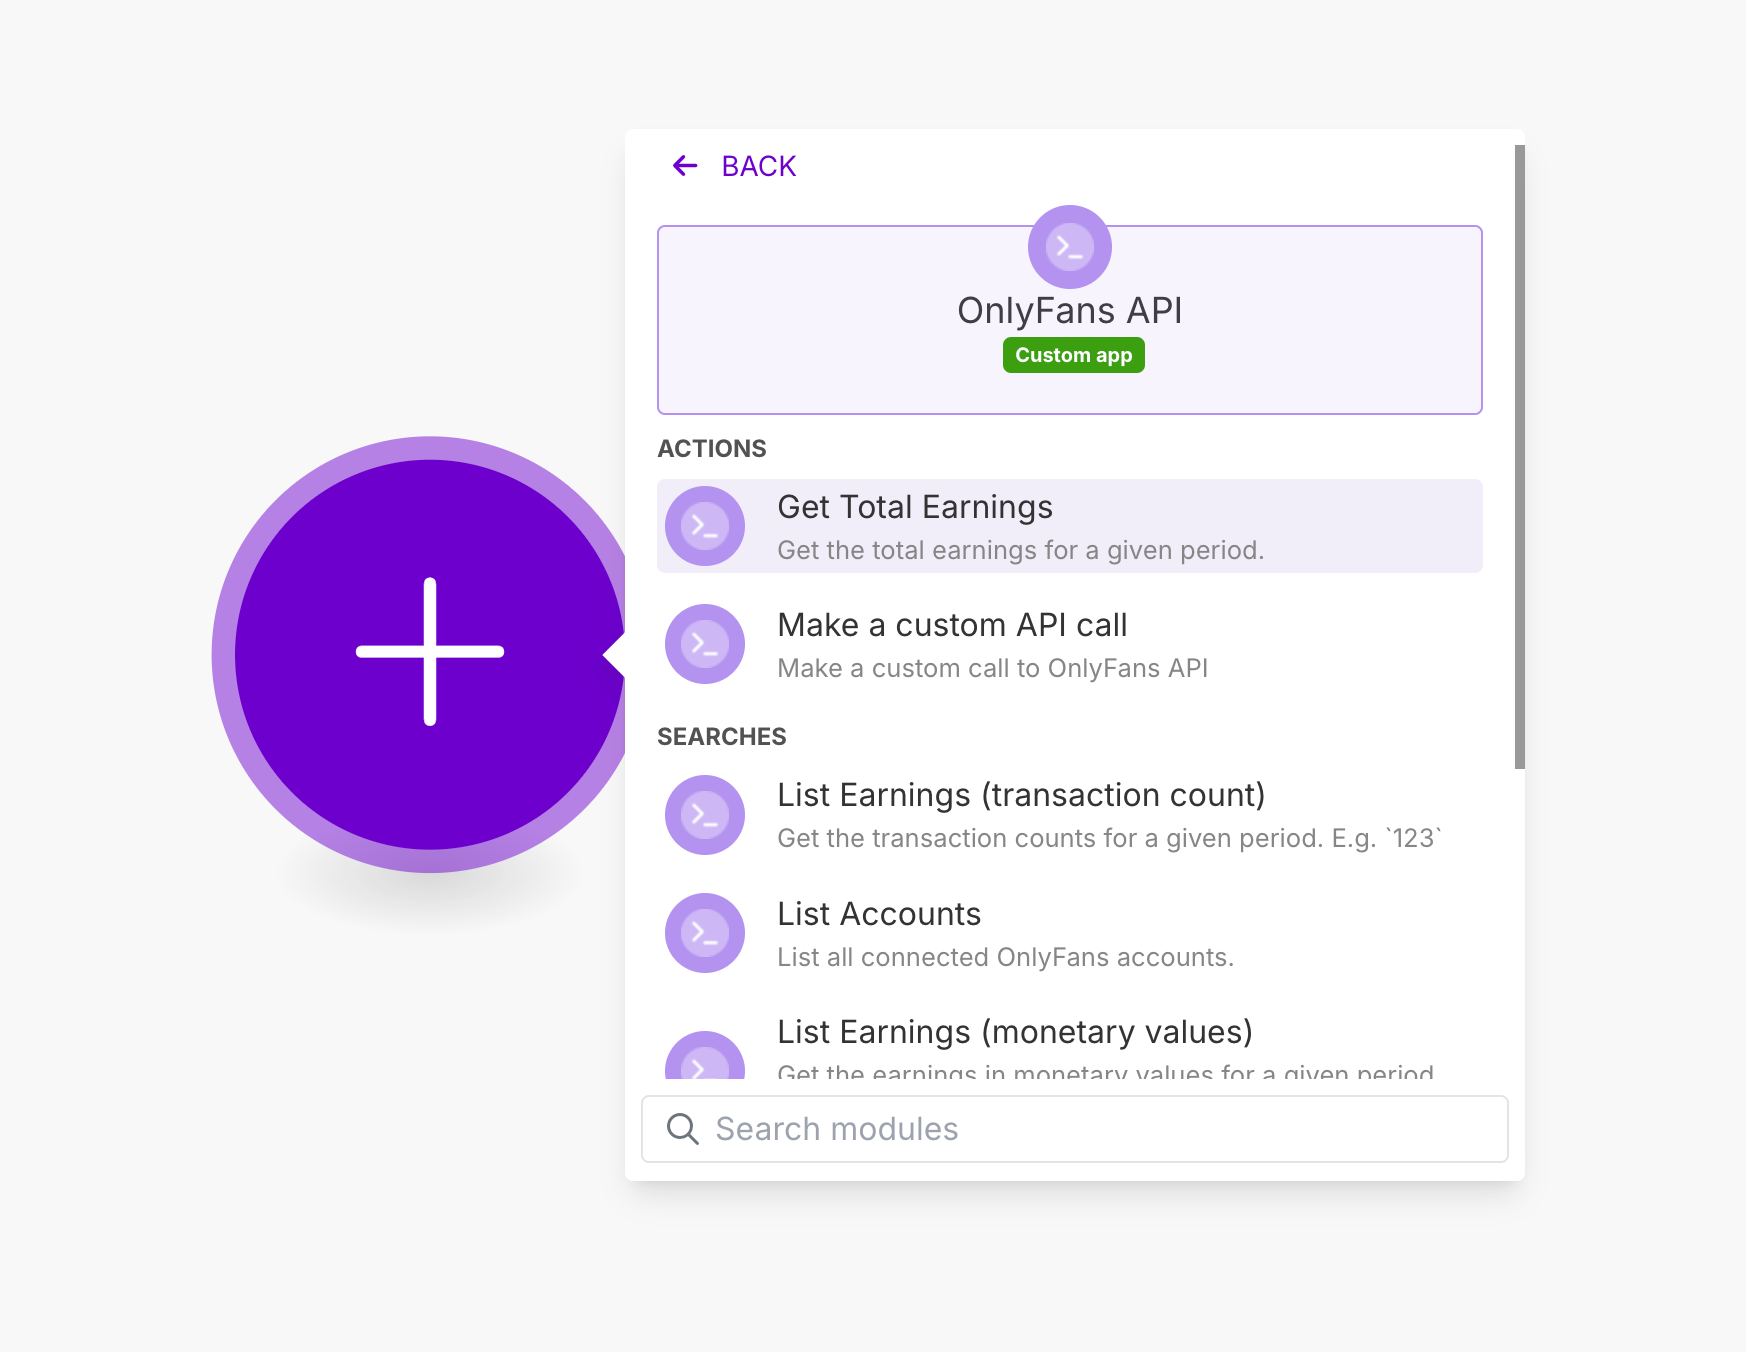
Click on the ”+” button to add an app, and search for “OnlyFans API”.
Select or search for a module
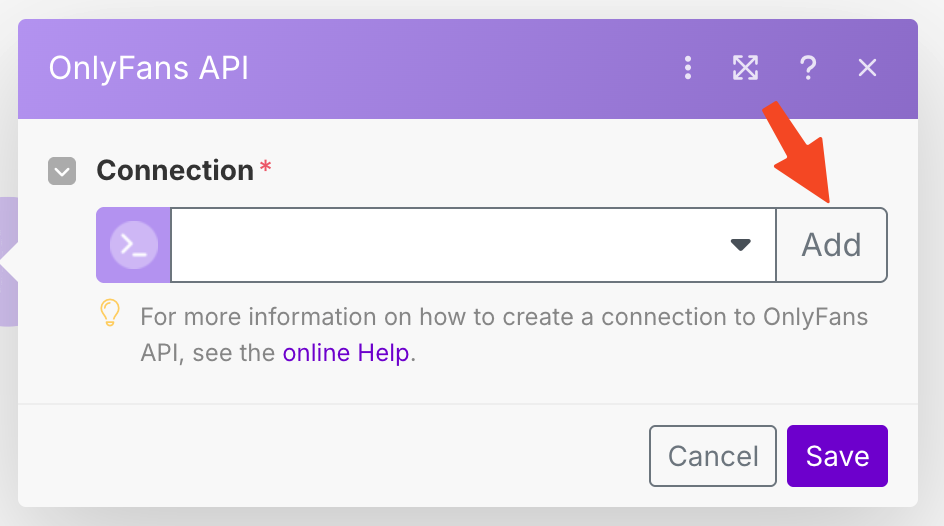
Add a new API connection
Create a new API key from the OnlyFans API Console
Go to the OnlyFans API console -> API Keys
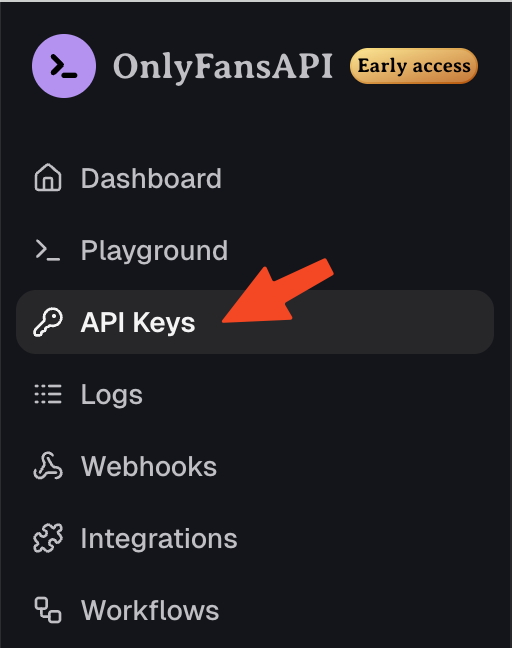
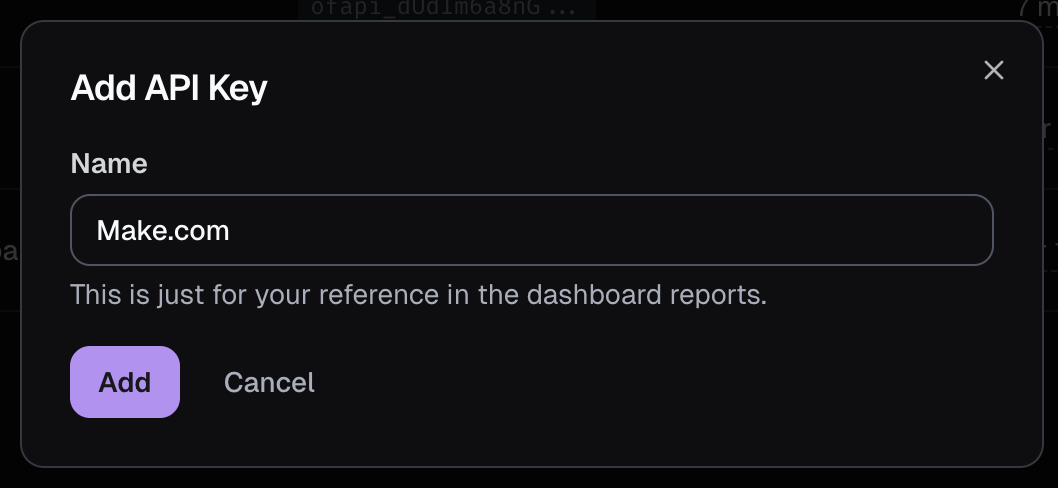
Create a new API key from the OnlyFans API Console
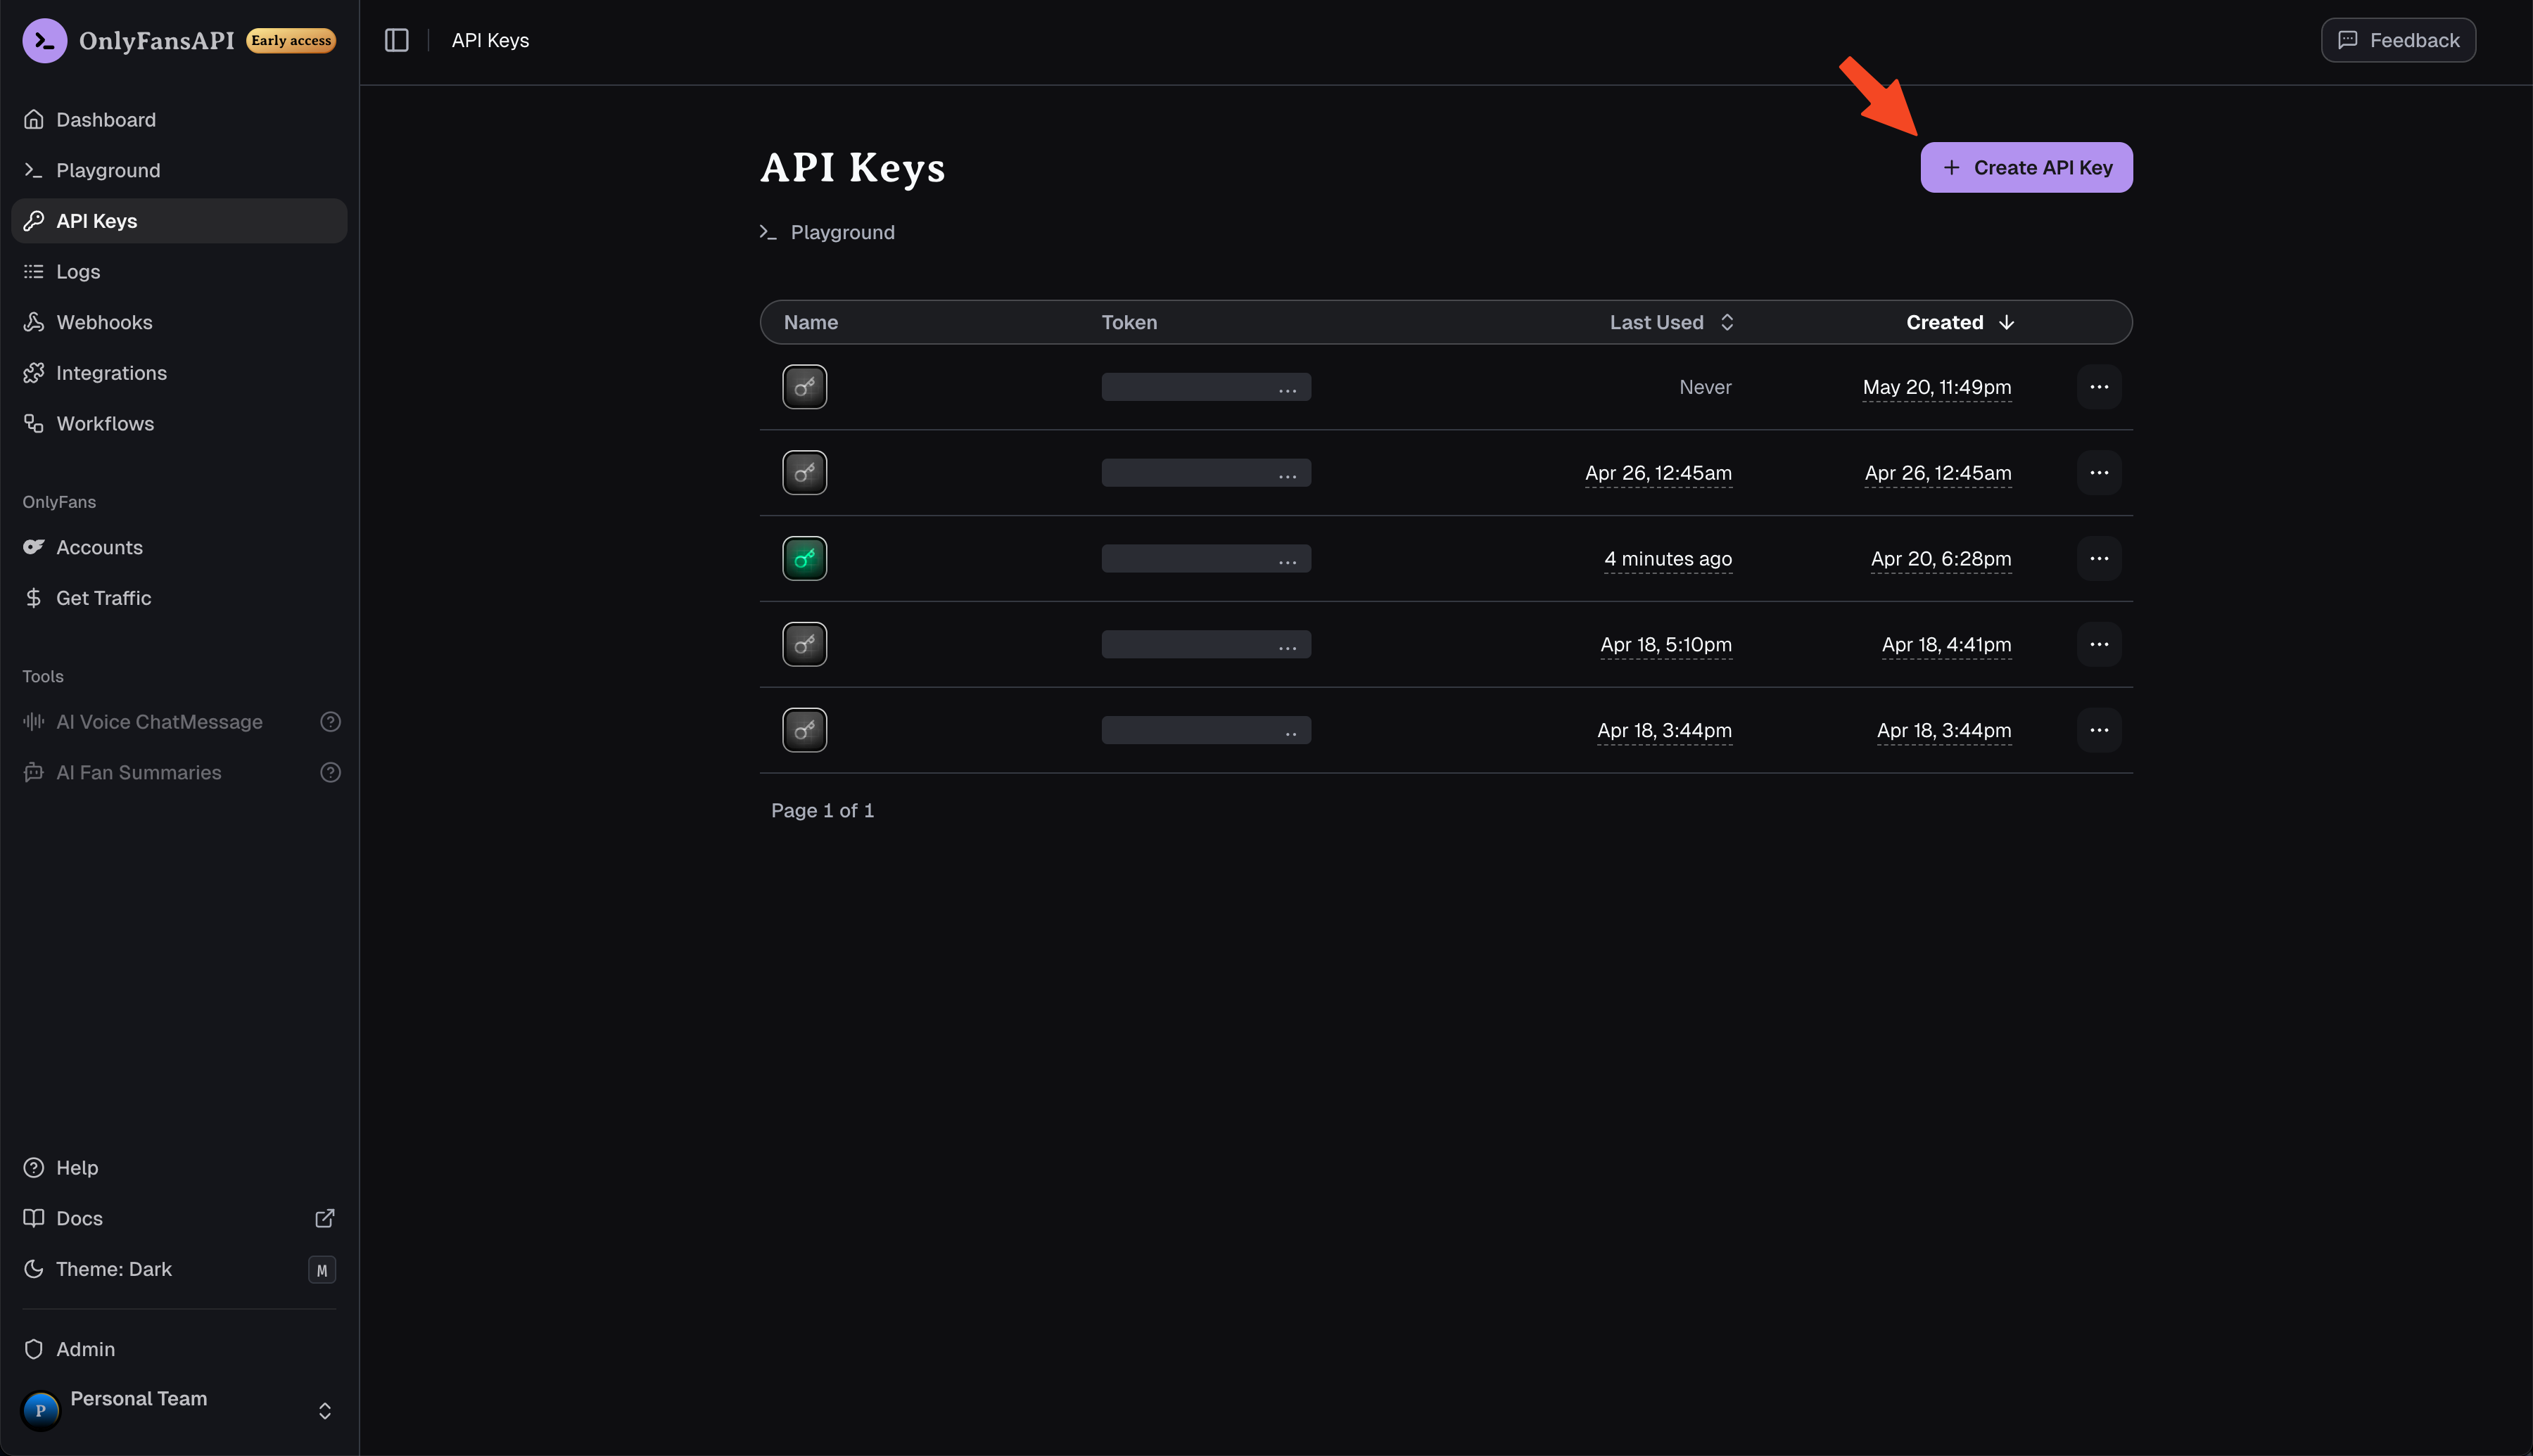
Give it a name, and press "Add"
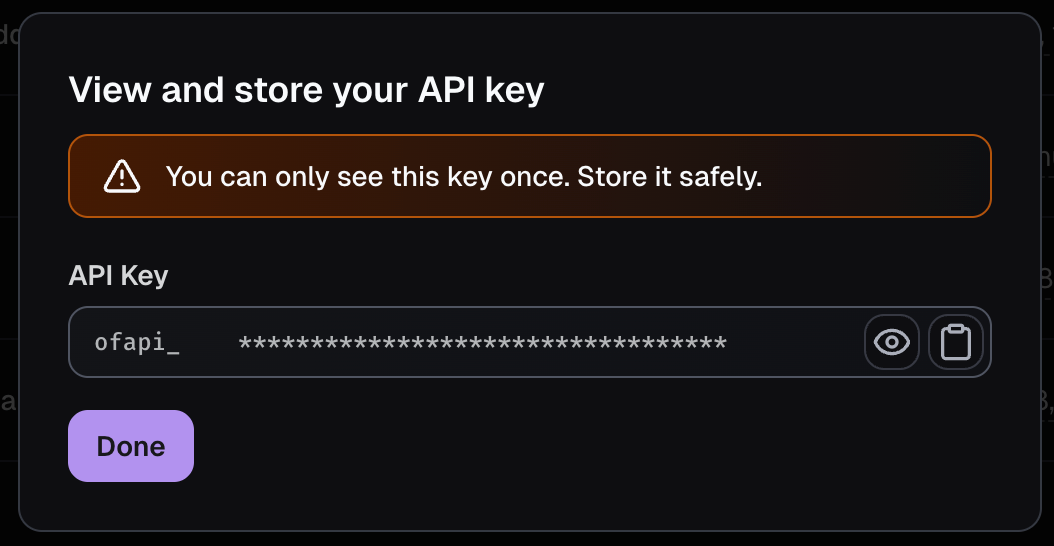
Copy the API key to your clipboard
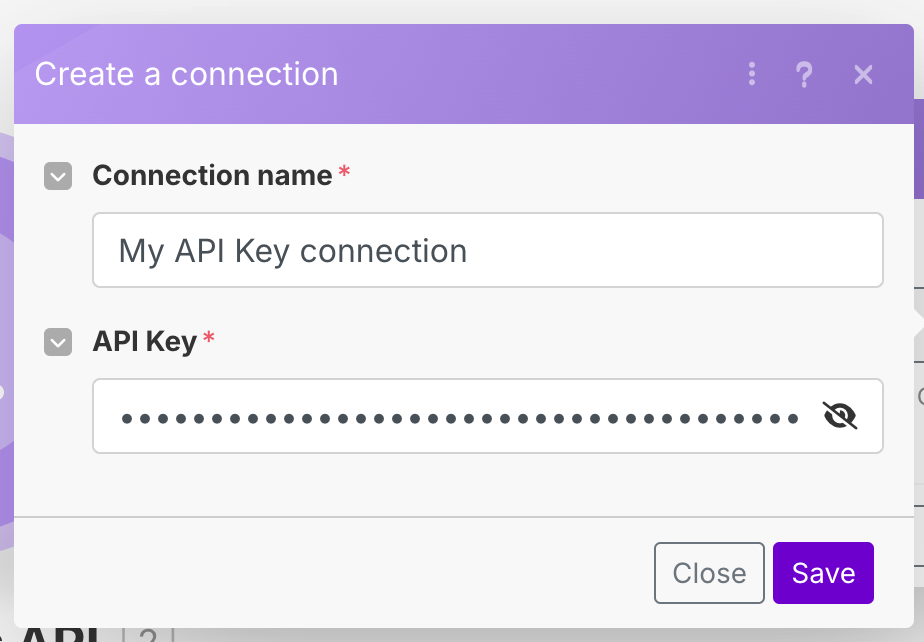
Save the new API key in Make.com
Give the connection a helpful name, paste the API key, and click “Save”.
That’s it! You’re now ready to use the OnlyFans API app in your Make.com scenario.
Example scenarios with Airtable
To get started, we have created a few example scenarios that will show you around OnlyFans API’s Make integration.
Of course, you can also use any other app that Make.com supports, such as Google Sheets, Notion, etc.
The example scenarios use Airtable, so make sure you have an Airtable account before proceeding.
Tracking links + Airtable
For this example, we’ll create a scenario that periodically retrieves the tracking link data from all of your connected OnlyFans accounts, and saves the data to Airtable.
Create a base Airtable
Go to Airtable and create a base. You can name it “OnlyFans API”, or anything else that will help you identify it later.
Create a table within your base
Within the base, create a table named “Tracking links”. Give the table the following fields:
ID(primary) - Single line textCampaign code- Single line textCampaign URL- URLClicks count- NumberSubscriber count- NumberTotal revenue- Currency
Your table should now look like this:
![]()
Add our "List Accounts" module

Add our "List Tracking Links" module
After adding “List Tracking Links” module, you will be asked to provide an “Account ID”.
Simply click on the field, and drag the “ID” from the left card into the field, like in the below image. Make sure to click on “Save”.
![]()
Add the Airtable "Create a Record" module
If you don’t see this module, make sure to click on “Show more”.
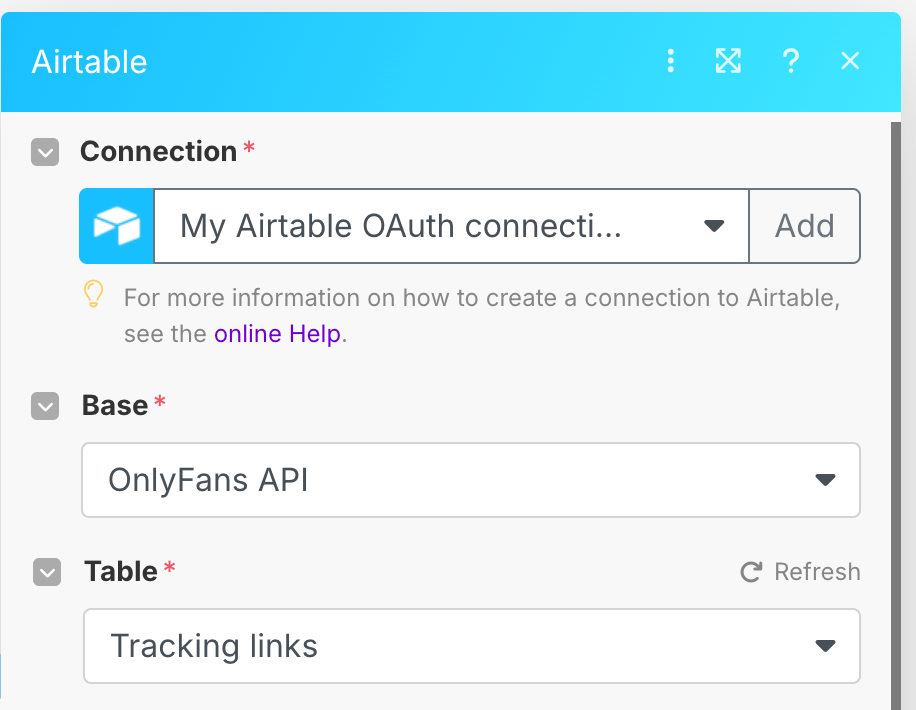
Connect your Airtable account, and select the correct Base and Table
Map the fields
Now, let’s map the OnlyFans API module fields to your Airtable’s table fields. Make sure to click on “Save”.
If you’ve done it correctly, your scenario should look like this:
![]()
Finally, schedule and run the scenario!
You can set a schedule time, and then run it manually with the “Run once” button to see if everything works correctly.
If it does, you will see the tracking link data of all your accounts appear in your Airtable table, like so:
![]()
That’s it! The tracking link data of all of your connected OnlyFans accounts will now automatically be updated in Airtable.
Of course, you can further customize this scenario for a more advanced setup.
Transaction data + Airtable
For this example, we’ll create a scenario that periodically retrieves the transaction data from all of your connected OnlyFans accounts, and saves the data to Airtable.
Create a base Airtable
Go to Airtable and create a base. You can name it “OnlyFans API”, or anything else that will help you identify it later.
Create a table within your base
Within the base, create a table named “Transaction data”. Give the table the following fields:
Transaction ID(primary) - Single line textAccount name- Single line textAmount- CurrencyNet amount- Currency
Your table should now look like this:
![]()
Add our "List Accounts" module
Add our "List Transactions" module
You will be asked to provide an “Account ID”.
Simply click on the field, and drag the “ID” from the left card into the field. Afterwards, choose a start date like “-30 days”.
![]()
Afterwards, make sure to click on “Save”.
Add the Airtable "Create a Record" module
If you don’t see this module, make sure to click on “Show more”.
Connect your Airtable account, and select the correct Base and Table
Map the fields
Now, let’s map the OnlyFans API module fields to your Airtable’s table fields. Make sure to click on “Save”.
If you’ve done it correctly, your scenario should look like this:
![]()
Finally, schedule and run the scenario!
You can set a schedule time, and then run it manually with the “Run once” button to see if everything works correctly.
If it does, you will see the tracking link data of all your accounts appear in your Airtable table, like so:
![]()
That’s it! The transaction data of all of your connected OnlyFans accounts will now automatically be updated in Airtable.
Of course, you can further customize this scenario for a more advanced setup.